SimplyLightwave.com

Subscriber


Need a subscription?

Want access to our entire content library? Sign up for a subscription here Subscribe


# Information Play Length

Lesson 1: Creating the wrench and setting up basic lights

41 Minutes

Lesson 2: Creating the fingerpick and adding procedural textures

42 Minutes

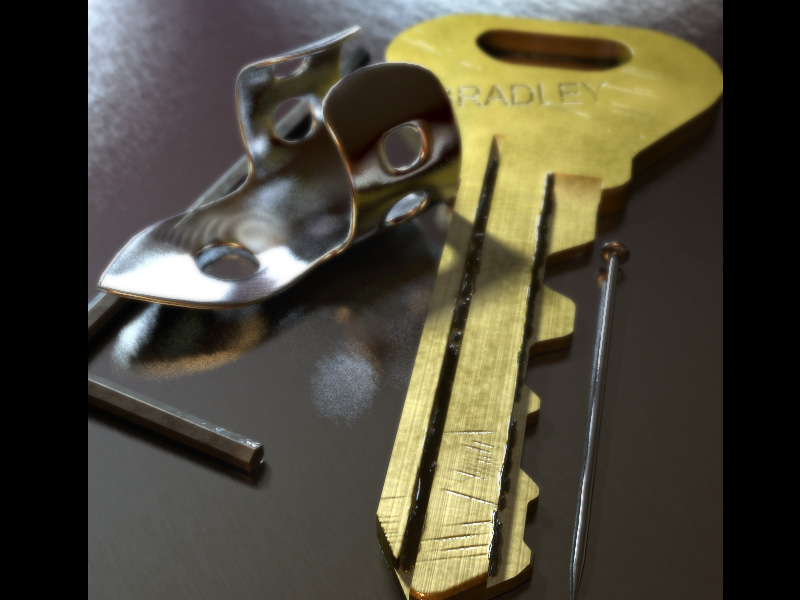
Lesson 3: Creating the pin and the key

46 Minutes

Lesson 4: Tweaking the lights and procedural textures for scratches

35 Minutes

Lesson 5: UV mapping and painting textures for the key object

38 Minutes

Lesson 6: Adjusting lighting and shading for realism

33 Minutes

Lesson 7: Final details and post-production in Photoshop

23 Minutes
This tutorial has 7 parts

Lighting and Texturing for Photorealistic Metals

Improve your lighting skills with this project where we create realistic metals in LightWave. After modeling the simple objects we move on to setting up textures with details such as scratches and dirt that will help with realism and prevent your renders from getting that CG look, before continuing with lighting creating soft shadows and blurred reflections. We finish off by adding depth of field and some other post-production enhancements in Photoshop.

This tutorial is available on our streaming platform. Don't like streaming? No problem, you can buy this tutorial for download.

Price: 39.95

Online since 2001
Latest threads posted
Catch up with SimplyLightWave
SimplyLightWave was first started in London 14 years ago, and we've been dedicated to producing quality software training ever since. Faithful to the principle of learning by doing, our project based courses aim to give you the practical skills to quickly start creating your own work in LightWave. More...
Copyright © 2001-2024 SimplyLightWave | Terms & Conditions | Privacy Policy