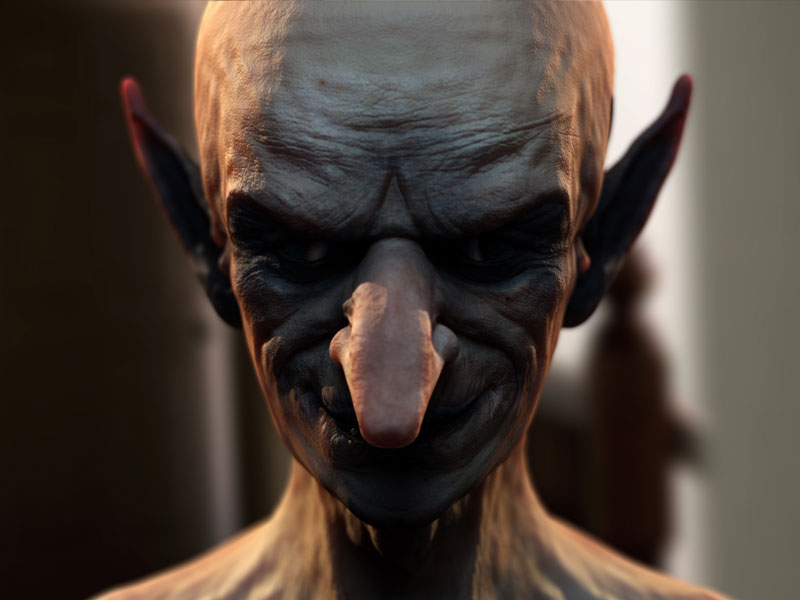
Character Creation in Lightwave
Total runtime of this learning path is 07 hours 22 minutes. It contains 15 individual lessons.
Learn organic modeling techniques in LightWave, as well as UV layout, texturing and rigging of stylized creatures and cartoon characters in this learning path which covers all your 3D pre-production needs. Some of these projects include the industry standard sculpting program ZBrush for detailing and painting models, also teaching you the LightWave ZBrush integration used in character creation.
-
Complete ZBrush to LightWave 11.5 Workflow
This tutorial covers the workflow for creating characters using LightWave and ZBrush, taking you through the complete process from concept sketches to the final composite step-by-step. We start by building a base mesh in ZBrush and then follow through into Lightwave discussing topics such as sculpting techniques, retopology, UV layout, polypainting and lighting along the way. Our final renders are brought into Photoshop for a basic composite.
-
Character Study - Marvin Paranoid Android
Get started with subpatching in this tutorial aimed at the relatively new LightWave modeler. After going through some interface basics and useful plug-ins we dive into polygon and subpatch modeling creating the different parts that make up Marwin working at a slow pace. With the character complete we continue in Layout with surfacing and lighting, before finishing off with some post-production tips in Photoshop. Subpatching can be tricky at first, however this tutorial will see you off to a good start.
-
Surface Anatomy Detailing in ZBrush
Learn to add realism to your models in this project on detailing skin to create the creasing and wrinkles you expect to see in areas that come under stress on both animals and humans. Here we bring a low-res base mesh into ZBrush to sculpt in detail, which is then rendered out as maps that can be brought back into LightWave, allowing you to save on polygons. The workflow presented here can be applied to any type of skin surface and is an essential part of detailing organic models.


