Beginner's Hard Surface Modeling - Environments and Vehicles
Total runtime of this learning path is 29 hours 53 minutes. It contains 73 individual lessons.
Get familiar with the many modeling tools available in LightWave and put them to practical use with these slow-paced projects, excellent for the relatively new LightWave modeler. Here we learn how to create architectural landmarks, interiors and some low detail vehicles, and when completing this learning path you will have the skills to build your own exterior and interior environments complete with props in LightWave.
-
Complex Interiors in LightWave 11.5
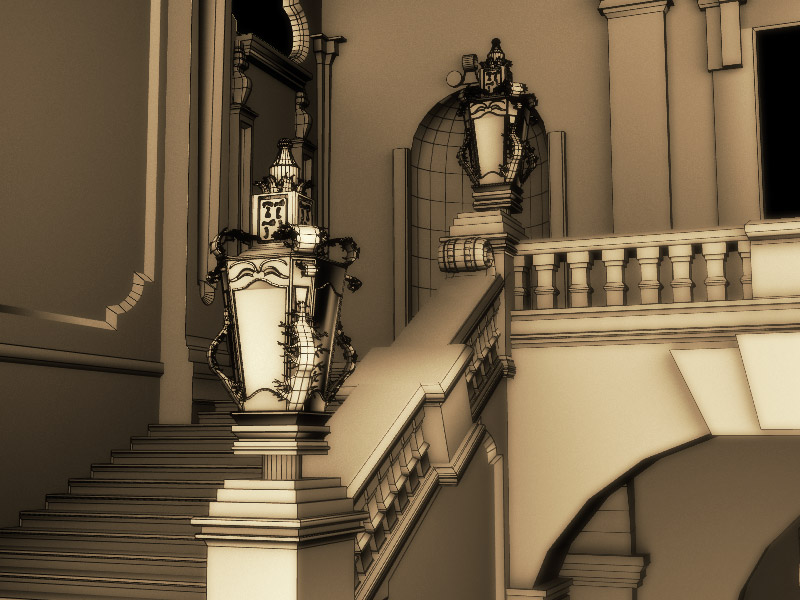
Learn useful hard surface modeling techniques for creating architecture in LightWave with this project where we build a luxurious entrance hallway and staircase. While creating columns, arches, railings, lamps and other details we cover how to make observations based on single reference and convey those into a 3D scene. We also look at the difference in detailing scenes intended for games rather than film and when to save on polygons by using bump maps.
-
Super Structures - Modeling Tower Bridge
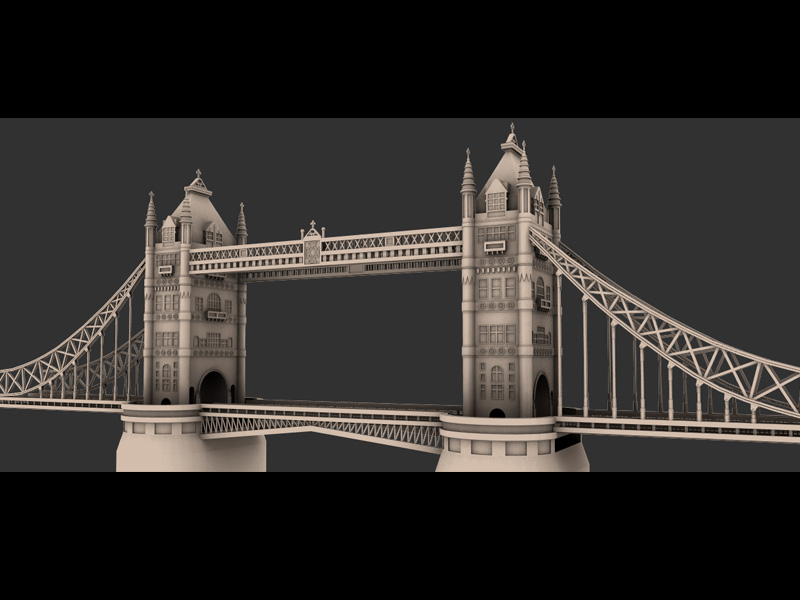
Get the skills to create large-scale structural models in LightWave by following this project where we model London's Tower Bridge, one of the city's landmark structures. Working big to small, we break it down and block out the main structural parts before moving on to the finer details such as tower spires, arched doorways, insets and windows. Following this workflow you'll be able to create your own pieces of architecture in LightWave.
-
Fantasy Balloon Ship Hard Surface Modeling
In a production environment artists are often given just one reference to work from, so with this in mind we created the Fantasy Balloon Ship which is modeled based on a single reference in 3/4 perspective. This is a very useful skill to acquire in 3D work and a must have for a modeler working from concept art. We also cover some tips and tricks to improve your workflow, such as the techniques for modeling chain links and adding knots to the nets, details which will help your model to really stand out.
-
Defiant - Hard Surface Modeling and Texturing
Learn polygon and subpatch modeling in this step-by-step project where we create the Defiant ship. Useful techniques demonstrated in this tutorial include cutting holes in surfaces with booleans and cleaning up after them, as well as keeping quadded geometry and preparing a model for conversion to subpatches. In the final parts we look at UV layout and adding some textures, giving you an overview of the full process involved to create production ready hard surface models.


