Want access to our entire content library? Sign up for a subscription here Subscribe
#
Information
Play
Length
Lesson 1: Creating image masks in Photoshop
24 Minutes
Lesson 2: Projecting image masks in LightWave and camera tracking
43 Minutes
Lesson 3: Creating smoke with particles and shading it with procedurals
39 Minutes
Lesson 4: Bringing the elements together into a final animation
33 Minutes
This tutorial has 4 parts
Camera Tracking and Smoke Effects
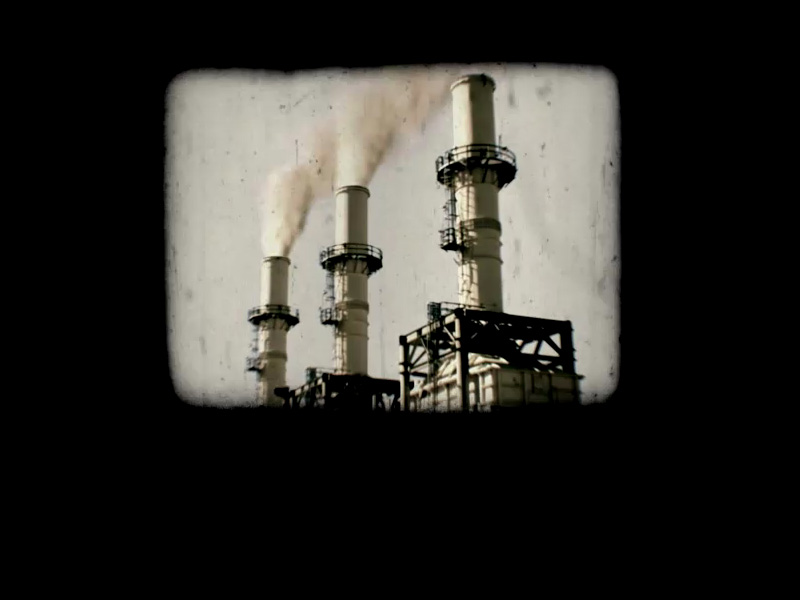
In this interesting project with Jacobo Barriero we create realistic smoke with sprite particles in Lightwave and use a clip mask to project an image onto simple geometry in 3D space. We also look at finding the camera information from images in Lightwave and SynthEyes.
We start off in the first part with creating the image mask in Photoshop from a picture of an oil refinery. Here we cover some of the fundamentals of alpha based transparency, and you will learn some excellent production methods which can save you a lot of time on modeling and texturing in Lightwave.
In the second part we set up a camera background image in Lightwave and create some very basic geometry onto which we project the image mask. In order to do this accurately and get a good result we retrieve the camera information from our original image in Lightwave and in SynthEyes camera tracker for a more precise result. You don't need SynthEyes to follow along with this project but it's used to demonstrate better accuracy when obtaining camera information from images where it's unknown. This method of image projection allows us to take a 2D image and use it on a 3D model which we can pan a camera around in 3D space.
From here we move on to creating a realistic looking smoke plumes with Lightwave's particle system. We work with sprites covering the simulation process and shading for particles with turbulence and noise.
Finally we finish this off by bringing the different elements together and creating a simple animation. For this we set up render passes and the rendered frames can then be composited together in a post application like After Effects. We do not cover the After Effects portion in this tutorial and finish off in Lightwave.
This tutorial will give a very broad overview of some of the things Lightwave is capable of.
This tutorial is available on our streaming platform. Don't like streaming? No problem, you can buy this tutorial for download.
Price: 24.94
About Us
Online since 2001
Forum
Latest threads posted
Connect with
Catch up with SimplyLightWave
SimplyLightWave was first started in London 14 years ago, and we've been dedicated to producing quality software training ever since.
Faithful to the principle of learning by doing, our project based courses aim to give you the practical skills to quickly start creating your own work in LightWave. More...